AT A GLANCE
- Ledger stone is thin natural or manufactured veneer.
- It comes as flat pieces and corner pieces.
- Stone should wrap outside corners.
- Sloped caps protect the top of a stone wainscot.
- Stone columns need corner pieces on all four edges.
- Avoid dry-stacked ledger stone where winters freeze.
- Manufactured stone ranked third of 28 resale projects in 2025.
IN THIS POST
- Why does ledger stone look fake on a house?
- Where should ledger stone end on a house exterior?
- How do you transition ledger stone to siding, windows and the ground?
- How do you lay out ledger stone panels?
- How do you wrap porch columns in ledger stone?
- Can ledger stone be used outdoors in cold climates?
- Does ledger stone add curb appeal and home value?
- Conclusion
- Frequently Asked Questions
- Sources
Ledger stone, also called stacked stone or ledgestone, is a thin stone veneer made of narrow strips set in horizontal courses. On exterior facades, wainscots, entries, and porch columns, it looks most like solid masonry when it wraps outside corners, ends at inside corners, finishes with a sloped cap, and sits on a drainage edge above soil and paving.
On columns, ledger stone works best with corner pieces on all four edges, a pier that looks wider than the column above it, and a cap that sheds water. For curb appeal, how well the stone is finished matters more than how much of the facade it covers.
Why Does Ledger Stone Look Fake on a House?
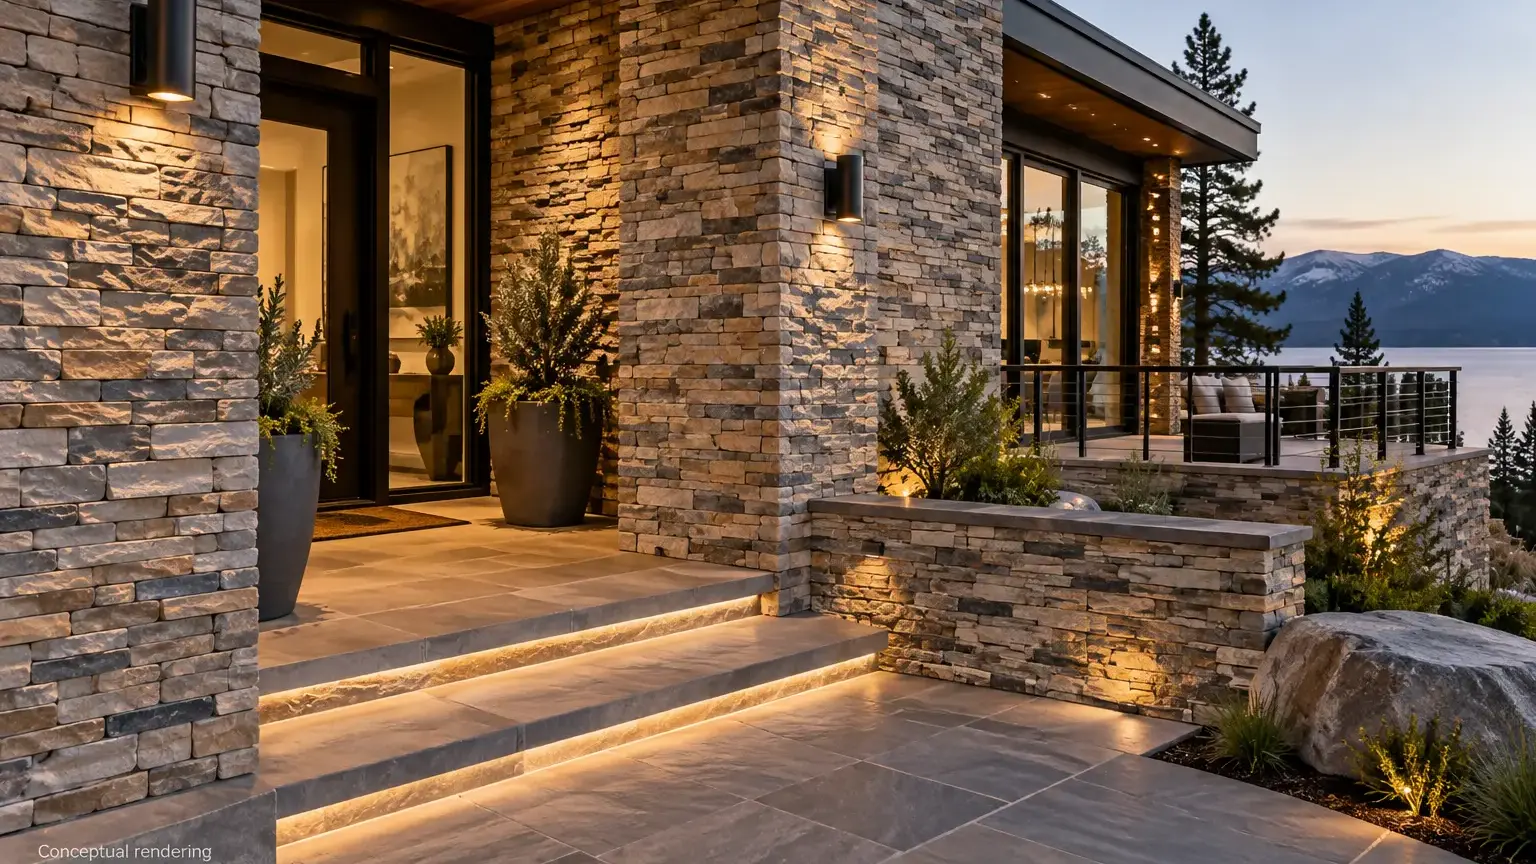
Ledger stone looks fake on a house when its thin edge shows, when it seems to float on a wall with nothing below it, or when panel seams line up into a visible grid. Each of these signals a surface layer rather than a solid wall.
People judge stone by how it has always behaved. When stone walls were structural, stone sat at the base because it carried the weight above it, turned every corner because a solid wall had to, and had staggered joints because that is how masonry stays standing. Veneer that follows those rules reads as real, and veneer that breaks them reads as decoration, however good the stone is.
For background on the material itself, see our guide to what ledger stone is and how it performs outdoors. The details below start where most problems do: the edges of the stone.
Where Should Ledger Stone End on a House Exterior?
Ledger stone should end at an inside corner, at a change in wall plane, or beneath a cap that marks a clear horizontal line, and it should wrap around every outside corner it reaches before it stops.
A reliable rule is that material transitions belong at inside corners, where the change in plane hides the edge of the stone. At an outside corner, the edge is fully exposed, which is the most common reason a stone front looks applied. Stone on the front of a house should therefore continue onto the side walls, ideally to the next inside corner, or to another logical break such as a chimney, bump-out, gate, or fence line.
The top edge matters too. A wainscot looks intentional when its top aligns with an existing line on the house, such as the window sills or the porch floor, and holds that height as it wraps around the house. Uneven heights from wall to wall tend to look accidental.
Two placements are worth avoiding: stone above siding on the same wall plane, which looks unsupported, and isolated patches of stone in the middle of a wall, which have nothing below them to explain why they are there.
How Do You Transition Ledger Stone to Siding, Windows, and the Ground?
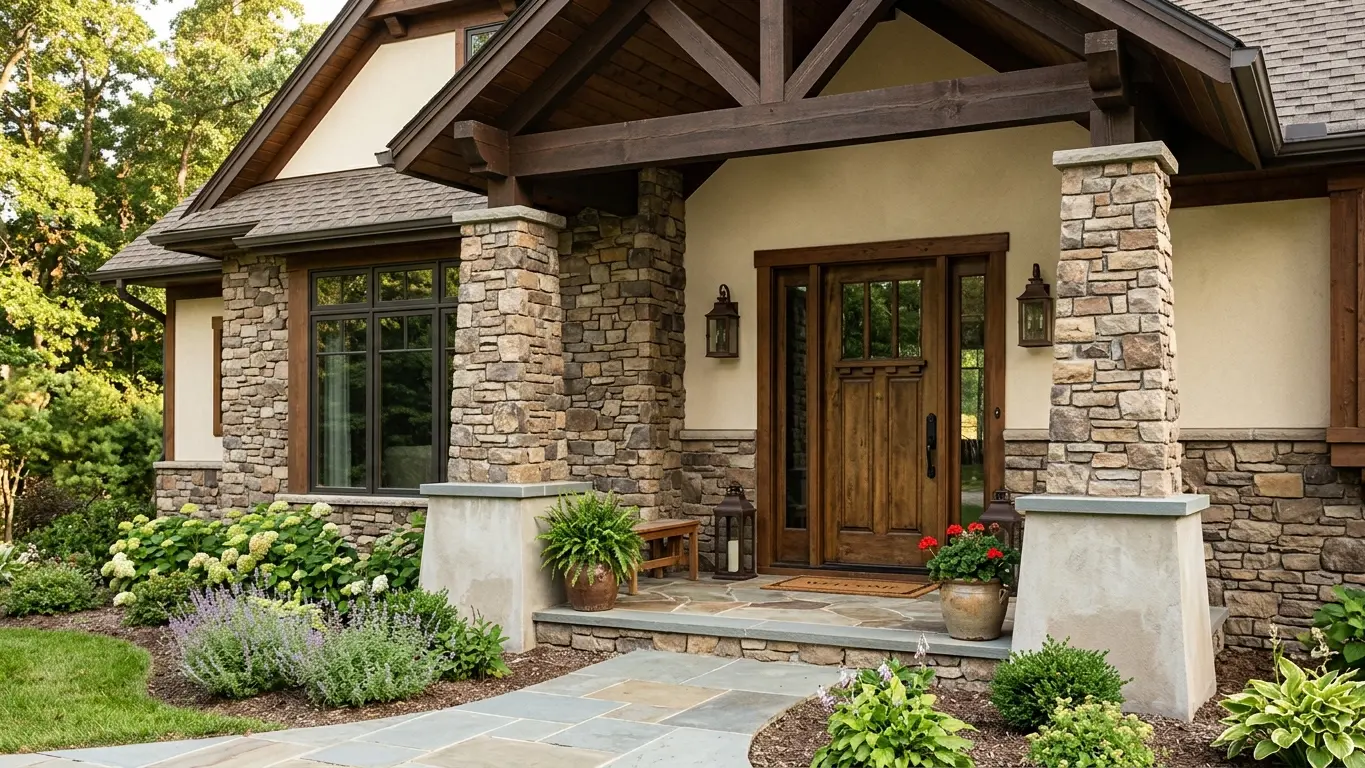
To transition ledger stone to siding, windows, or the ground, each edge needs a detail that sheds water: a sloped cap at the top, integrated flashing at openings, and a drainage edge at the bottom.
At the top. A wainscot that simply stops leaves a ledge where water and debris collect. A cap or sill with a slight outward slope, an overhang, and a drip edge gives the stone a finished line, much like the water table on a traditional masonry building. A stone cap paired with cap flashing sheds water from the face and gives any moisture that gets past the stone a way out of the wall.
At windows and doors. Openings are where water most often gets behind veneer. A stone sill under a window looks more convincing than siding trim breaking up the stone, and the flashing around each opening must lap over the weather barrier so water is directed outward. Ask your installer how the stone will meet each frame and trim piece before work starts, since these joints are hard to fix later.
At the ground. According to the ASTM C1780 standard for manufactured stone veneer, exterior walls over sheathing generally call for two layers of water-resistive barrier and a foundation weep screed. The barrier laps over the screed, which lets water behind the stone drain out instead of soaking into the sheathing. That edge sits above soil and paving, so the stone should not run into the ground. Low plantings can soften the line without burying it.
Once the edges are set, the panel layout across the wall decides whether the stone reads as hand-laid.
How Do You Lay Out Ledger Stone Panels?
Lay out ledger stone panels by staggering the panel ends from course to course, blending pieces from several boxes, and keeping cuts away from the most visible spots, so the wall looks hand-laid rather than panelized.
Stagger the seams. Panel ends that line up vertically form a ladder of seams that reveals the panel format. Offsetting each course keeps the eye moving horizontally, the way it does across hand-laid stone.
Blend from several boxes. Natural stone varies from box to box, and installing one box at a time can leave patches of a single tone. Industry installation guidance recommends laying out a mix of sizes, shapes, and colors before setting, so the variation spreads evenly across the wall. Comparing several panels from our tile and natural stone selection before ordering also shows how much variation to expect on the finished wall.
Dry-lay around openings. Laying panels out on the ground first shows where narrow cut pieces will land around windows and doors while there is still time to shift the layout.
Hide the cuts. Cut panel ends belong at inside corners, behind downspouts, or on less visible side walls, not beside the front door or on the corner nearest the street.
Columns follow the same principles, with a few added details.

How Do You Wrap Porch Columns in Ledger Stone?
To wrap porch columns in ledger stone, cover all four sides with corner pieces on every edge, make the base look wider than what it supports, and finish the top with a cap.
Columns usually take one of two forms. The first is a stone pier under a narrower wood or fiber-cement column, a classic Craftsman detail. The second is a full-height stone column, which suits modern facades, gated entries, and covered parking areas.
Proportion. A pier should look clearly wider than the column it carries. Matching its height to the wainscot line ties the columns and walls into one design.
Corners. Every edge of a square column needs corner pieces. Alternating their long and short legs from course to course makes the corners look like interlocking blocks, and planning the coursing ahead keeps narrow faces from ending in thin slivers of stone. Because corners shape so much of how a column reads, it helps to see a product’s corner pieces in person at a showroom near you before choosing it.
Structure. The stone is a finish, not a support. A structural post, block, or concrete core carries the load, and your builder or engineer should confirm it before any stone goes on. The same ASTM C1780 standard covers adhered veneer on columns as well as walls, and it points to a separate standard, ASTM C1242, for adhered natural stone.
The top. Piers take the same sloped cap as a wainscot. On a full-height column, plan the joint where the stone meets the beam or soffit so the transition looks intentional.
Ordering. Thin stone veneer is typically sold as flat pieces and corner pieces, with flats estimated by area and corners by the total height of the corners being covered. A 4-foot-tall square pier, for example, has four corners, or 16 linear feet of corner pieces before any flats are counted. Confirm coverage against the specific product before ordering, or book a free design consultation to work through flat and corner quantities with our team.
Climate also shapes how ledger stone should be installed, especially where winters freeze.
Can Ledger Stone Be Used Outdoors in Cold Climates?
Yes, ledger stone can be used outdoors in cold climates when the specific panel is approved for exterior freeze-thaw exposure and the installation lets water drain out of the wall. Dry-stacked styles, set without visible mortar joints, are the exception.
Dry-stacked exterior installations are not recommended in climates with freeze-thaw cycles, though they can work indoors or where it does not freeze. Before installation, it is worth asking:
- Is the specific panel, along with its backing and setting method, approved by its manufacturer for exterior use in freezing weather?
- Will the joints between panels be left open or filled?
- How will water that gets behind the stone drain out at the base of the wall?
Stone choice also depends on how much sun and snow each wall receives, which we cover in our guide to matching facade stone to each wall’s exposure.
The last question is whether the investment pays off.
Does Ledger Stone Add Curb Appeal and Home Value?
Ledger stone accents can add both curb appeal and home value, based on national remodeling cost estimates, though the published figures cover a specific manufactured stone project rather than every ledger stone installation.
In a 2025 national remodeling cost study, manufactured stone veneer was estimated to recoup more than twice its cost at resale, ranking third of 28 projects. The modeled project replaced a 300-square-foot band of vinyl siding across the lower third of a street-facing facade with stone, including sills, corners, an address block, a water-resistive barrier, and stone around the entry archway. In other words, it was a finished accent, not a house covered in stone.
These figures are national averages of estimated resale value, and actual results vary by market and workmanship. If you are weighing natural stone instead, you can compare natural ledger stone options in person at our Reno, Minden, or Sacramento showroom before deciding.
Conclusion
Every detail in this guide serves two goals: ledger stone should look as though it could stand on its own, and it should give water a way out of the wall. Stone that appears to carry weight and finishes cleanly at every edge reads as masonry from the street. Stone that drains at the top, around openings, and at the base is better positioned to keep that look for years. Getting both right matters more than how much stone goes on the facade.
These decisions are easiest to make before any stone is ordered. If you are still deciding where stone belongs on your home, start with our stone facade placement ideas. When you are ready to compare ledger stone panels and corner pieces in person, Nova Tile and Stone’s design team can help during a free design consultation.
Frequently Asked Questions
Using the same stone and coursing on the columns and walls usually gives the most unified facade. A contrasting column stone can work when it also appears elsewhere on the property, such as a garden wall or mailbox post, so the choice looks deliberate.
Stone piers under narrower columns suit Craftsman, farmhouse, and other traditional styles, where the base and column read as separate parts. Full-height stone columns suit modern homes that favor simple, solid forms.
Properly installed natural stone veneer is known for a long service life. When problems occur, they are more often traced to installation issues, such as poor drainage, missing flashing, or weak bonding, than to the stone itself.
A white, powdery deposit is usually efflorescence, which forms when water moving through the wall carries dissolved salts to the surface and evaporates. Light deposits can often be brushed off, but recurring residue is a sign of moisture moving through the wall and is worth having checked.
Ledger panels are relatively easy to handle, but an exterior installation also involves a weather barrier, flashing, a drainage edge, and secure bonding to the wall. Because mistakes in these layers are hidden once the stone is set, many homeowners choose an experienced installer.
Sources
- Concrete Masonry & Hardscapes Association, Manufactured Stone Veneer Installation Guide | https://www.cmha.org/resource/msv-man-001/
- Concrete Masonry & Hardscapes Association, 2025 Cost vs. Value Summary | https://www.cmha.org/news-and-insights/2025costvsvaluereport/
- ASTM International, ASTM C1780 Standard Practice for Installation Methods for Cement-based Adhered Masonry Veneer | https://store.astm.org/c1780-26a.html
- International Institute of Building Enclosure Consultants | https://iibec.org/publication-post/manufactured-stone-veneer-common-pitfalls-in-design-and-installation/
- Masonry Advisory Council | https://masonryadvisorycouncil.org/wp-content/uploads/2018/10/Cap-Flashing-for-a-Stone-Veneer-Wall.pdf
- MASONRY Design (Mason Contractors Association of America) | https://masonrydesignmagazine.com/Default.aspx?pageID=196
Note: Some images on this page may be conceptual renderings created to illustrate design possibilities and may not depict actual installations.