Subway Tiles Installation
Subway tiles installation has become one of the most sought-after home improvement projects, combining timeless elegance with practical functionality. Whether you're renovating your kitchen backsplash or transforming your bathroom walls, proper installation techniques ensure your subway tiles deliver lasting beauty and performance for years to come.
Understanding Subway Tile Materials
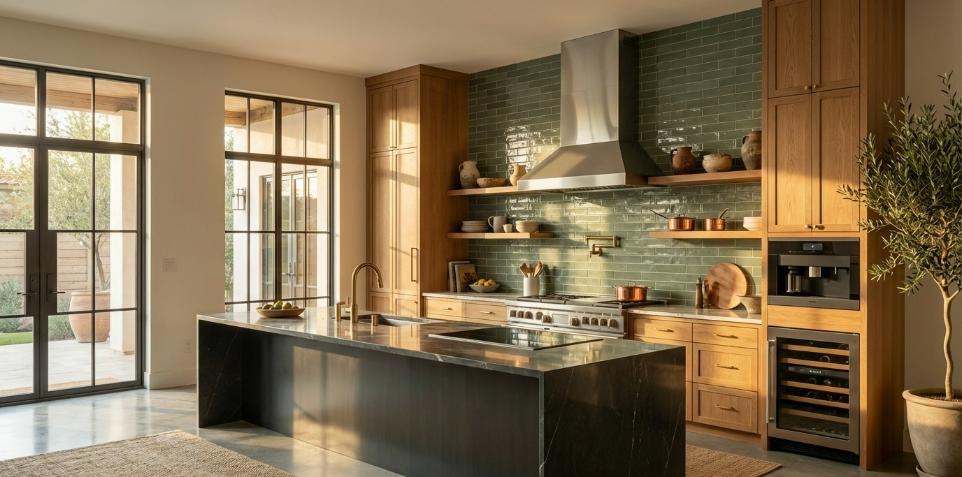
Before beginning your subway tiles installation project, selecting the right material is crucial for success. At Nova Tile and Stone, ceramic and porcelain subway tiles dominate the market due to their durability and versatility. Ceramic subway tiles offer excellent affordability and easier installation. Porcelain subway tiles provide superior water resistance and durability, particularly important for high-moisture environments like showers and kitchen areas.
The choice between matte and glossy finishes significantly impacts both aesthetics and maintenance requirements. Matte subway tiles deliver superior slip resistance and hide imperfections better, while glossy subway tiles reflect light beautifully and clean more easily. Consider your specific installation location and family needs when making this important decision.
Essential Installation Preparation
Successful subway tile installation requires proper surface prep: clean, level, and prime walls while removing existing tile, wallpaper, or loose paint. Address any structural or moisture issues first. Gather all tools and materials quality adhesive, spacers, grout, wet saw, level, and measuring tools to prevent delays and ensure professional results.
Professional Installation Techniques
Find wall center and establish level reference lines for balanced layouts. Apply adhesive evenly with a notched trowel in small sections. Place tiles firmly, maintaining consistent 1/8 inch spacing and checking alignment frequently. Remove excess adhesive immediately before grouting.
Layout Pattern Options
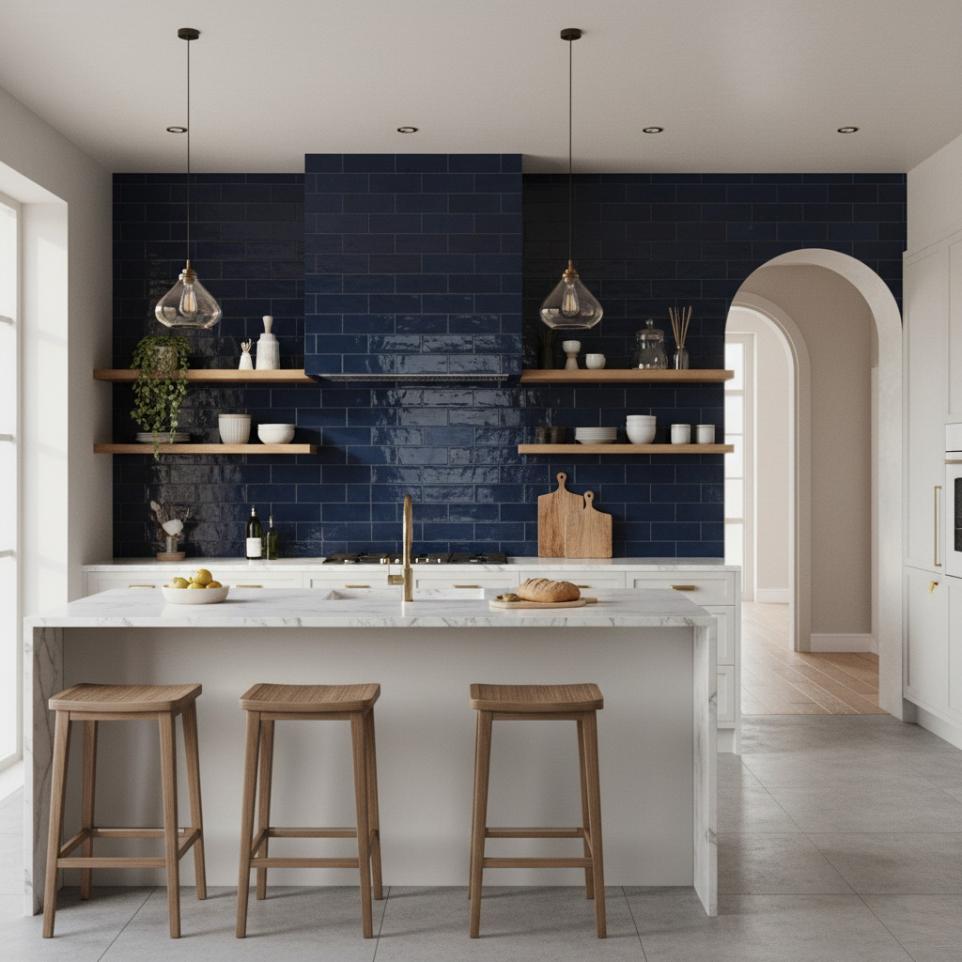
Traditional subway tiles installation follows a running bond pattern, where tiles are offset by half their length. However, modern designs embrace various patterns including herringbone, vertical stacking, and even creative color combinations. Each pattern creates different visual effects and requires specific planning considerations.

Finishing Touches and Maintenance
After tiles cure properly, apply grout using diagonal strokes to fill joints completely. Clean excess grout immediately with damp sponges, working carefully to avoid removing grout from joints. Allow proper curing time before sealing grout lines for maximum protection.
Professional Support and Materials
Frequently Asked Questions
Proper surface preparation is one of the most important steps in subway tile installation. Walls must be clean, dry, flat, and free of grease, loose paint, or old wallpaper. Any existing damage, cracks, or moisture issues should be addressed before tiling begins. A primed, stable surface ensures the adhesive bonds correctly and prevents tiles from shifting or cracking over time. Our design experts at Nova Tile and Stone can advise on what to look for before your project starts.
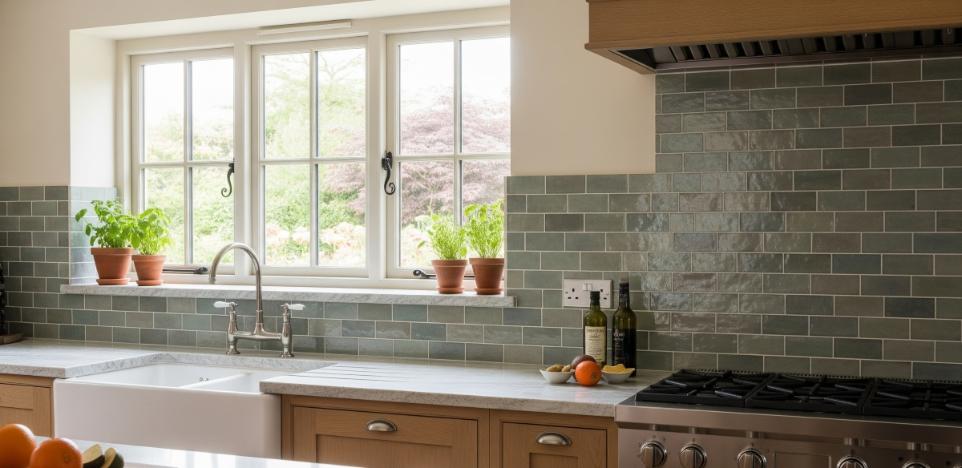
The classic running bond (brick) pattern where each tile is offset by half its length is the most popular choice for kitchen backsplashes due to its timeless look and straightforward installation. For a more contemporary feel, vertical stacking or herringbone patterns create a striking visual impact. Visit a Nova Tile and Stone showroom in Reno, Sacramento, Minden, or Fernley to see pattern samples in person and get personalized layout recommendations from our design team.
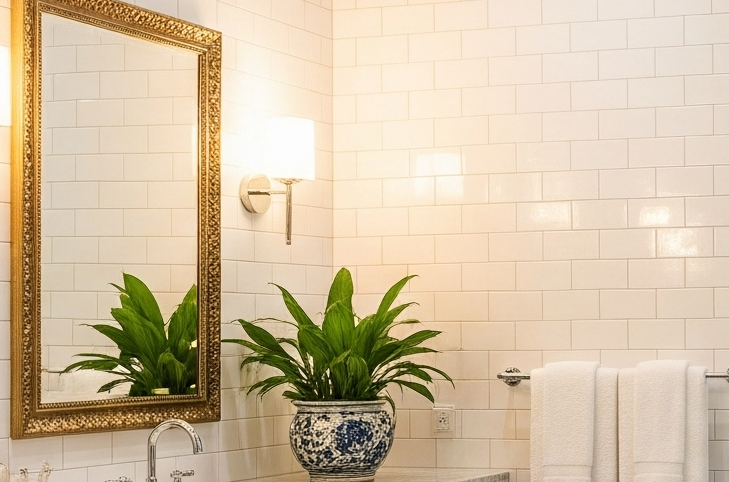
Ceramic subway tiles are lighter and well-suited for dry or low-moisture bathroom walls. Porcelain subway tiles are denser and more water-resistant, making them the better choice for shower walls, wet areas, and high-traffic bathrooms. Both are available in matte and glossy finishes to suit any style. Not sure which is right for your space? Our design consultants at Nova Tile and Stone are happy to help schedule a free in-person consultationat your nearest showroom.
You should wait at least 24 hours after setting your subway tiles before grouting to allow the adhesive or thinset mortar to fully cure. In humid environments like bathrooms, waiting 48 hours is advisable. Grouting too early can shift tiles out of alignment and weaken the overall bond. Always follow the adhesive manufacturer's guidelines for your specific product and environment.
Absolutely. Nova Tile and Stone offers a $1 sample program so you can test tiles in your actual space before purchasing. You can also visit any of our four showrooms to see tiles in person, explore over 50,000 designs, and get hands-on guidance from our design team.