Ordering subway tile samples before committing to a full purchase prevents costly mistakes by revealing how colors, textures, and finishes appear in your actual lighting conditions and against existing materials. A sample costing $5-15 can save thousands of dollars in returns, replacements, or living with tiles that don't meet expectations.
Samples let you test how subway tile layouts work with your grout choices, how modern subway tile patterns interact with cabinetry, and whether creative backsplash ideas translate from inspiration photos to real-world application. Professional tile installation typically costs $10-25 per square foot beyond materials, which makes accurate sample testing even more important. For additional guidance on tile standards and consumer best practices, the Ceramic Tile Distributors Association offers resources that help homeowners make informed decisions before investing in full installations.
Discovering your chosen tile clashes with countertops after installation means paying removal costs, new materials, and labor charges again. Smart homeowners test multiple options in their actual spaces first. Whether exploring chevron subway tile or herringbone subway tile backsplash patterns, samples eliminate guesswork and build confidence in selections that must perform beautifully for decades.
Financial Protection Through Physical Verification
Online product photography cannot accurately represent how tile surfaces interact with your home's unique lighting angles, existing color schemes, and architectural features. A white subway tile appearing crisp in showroom photos might read cream or gray in your kitchen's north-facing exposure. Samples eliminate these surprises by providing physical material for direct comparison.
Returns create hidden costs beyond restocking fees. Many retailers charge 15-25% restocking penalties, and you'll pay freight charges both directions. Professional installers schedule work weeks in advance, so material delays extend timelines and potentially incur rescheduling fees. Established tile retailers maintain comprehensive sample programs helping customers avoid expensive mistakes.
Scale distortion represents another costly pitfall. That gorgeous 3x12 vertical subway tile might overwhelm a small powder room, while delicate tiles could disappear in spacious kitchens. Samples let you physically lay out patterns on walls, photographing them from multiple distances. Testing reveals whether your planned basketweave subway tile creates the artisan character you imagined or appears too busy for the space.

Material Performance Testing Before Installation
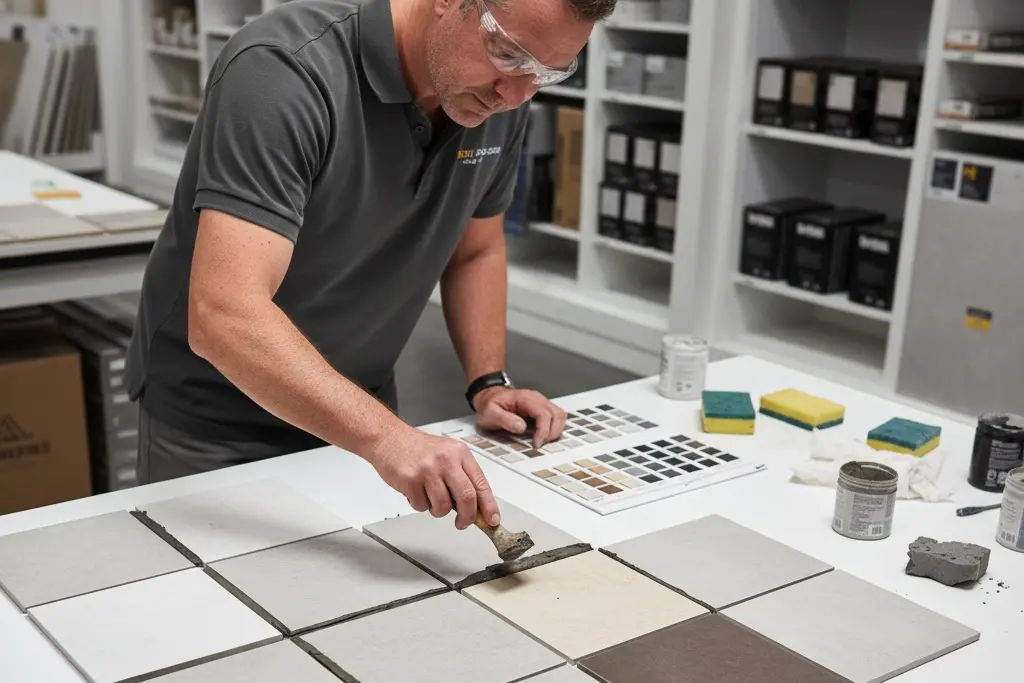
Samples let you evaluate characteristics determining satisfaction. High-gloss colored subway tile shows water spots more than matte finishes. Run practical tests wiping surfaces with oil or wine to observe staining resistance. Texture variation affects both aesthetics and performance. Understanding exact surface characteristics helps match tiles to specific zones when planning subway tile kitchen ideas. For standard installations, 3x6 subway tiles remain popular. Grout interaction transforms overall appearance dramatically. Test multiple grout colors using actual grout on tile surfaces. Consider terrazzo-look designs for unique patterns. According to the Ceramic Tile Education Foundation, improper material selection causes more failures than poor workmanship.
Design Confidence Through Physical Mock-Ups
Creating sample boards confirms design concepts before committing resources. Professional designers recommend 3-foot boards showing complete tile-grout combinations. This reveals whether your planned herringbone subway tile backsplash creates movement or appears chaotic.
Samples enable evaluation against permanent fixtures and cabinetry. Bring samples home and position them against counters, cabinets, and flooring. Colors appearing complementary in showrooms might clash with existing elements. Viewing multiple samples clarifies preferences.
For added guidance, the National Kitchen & Bath Association highlights how sample boards and mock-ups are essential in professional design planning, ensuring that homeowners avoid costly mistakes and achieve cohesive results. Family input becomes constructive when everyone evaluates physical samples over several days, making the final choice more confident and collaborative.
Strategic Sampling Approach
Request samples of your top three choices. Browse tiles by type to identify categories, then request specific products. Natural stone tiles display significant variation, so order multiple samples. Test samples over multiple days in actual lighting conditions by taping them where tiles will install. Document observations with a comparison chart rating color match, texture, cleaning ease, and cost.
How Samples Prevent Common Mistakes
Size miscalculation creates expensive problems. Samples let you lay out actual dimensions on walls to verify tile scale suits room proportions. Finish expectations often differ from reality since terms like "glossy" lack universal definitions.
Samples provide tactile experience showing exact sheen levels, important for bathroom applications. Professional tile organizations emphasize that finish selection impacts maintenance costs. Edge quality issues like chips or inconsistent thickness become apparent during sample examination, letting you switch products before full purchase.

Testing Methods That Reveal Hidden Issues
Apply water droplets to sample surfaces and observe over 24 hours. This identifies waterproof tiles versus porous options needing sealing. Conduct scratch tests using keys or knives, then clean with abrasive products to assess durability. Professional cleaning guidelines emphasize prevention through proper selection. Test grout staining by applying coffee or wine to grouted samples. Place samples near heat sources to check for expansion or color change, important for backsplash areas near cooking surfaces.
Step-by-Step Guide to Effective Subway Tile Sample Testing
Step 1: Initial Assessment - Unbox samples immediately, inspect for damage, and photograph each with a ruler for scale. Note sample numbers and examine under bright light.
Step 2: In-Room Testing - Position samples where tiles will install using painter's tape. Live with samples 3-7 days, observing different lighting conditions throughout each day.
Step 3: Material Coordination - Hold samples against countertops, cabinetry, and flooring. Photograph combinations as initial impressions sometimes differ from sustained observation.
Step 4: Grout Testing - Visit tile showrooms to test grout colors on samples. Photograph results before and after drying. Test three colors minimum.
Step 5: Performance Testing - Conduct water resistance and scratch tests. Note maintenance requirements and reference installation guides for testing protocols.
Comparison Table: Sample Testing Results
Testing Category | High-Gloss White | Matte Colored | Textured Stone |
Water Resistance | Excellent | Very Good | Fair (needs sealing) |
Scratch Resistance | Good | Excellent | Fair |
Cleaning | Moderate | Easy | Difficult |
Cost per SF | $8-12 | $10-15 | $15-25 |
Best Use | Low-splash areas | Kitchen walls | Statement walls |
Making the Final Purchase Decision
Calculate total costs including materials, labor, and buffers before ordering. Order 10-15% overage for standard layouts and 20-25% for complex designs. Retailers often discount sample costs from full orders. When ordering from regional showrooms, ask about contractor pricing.
Document selections by photographing chosen samples with all information. Save samples permanently for future repairs in labeled bags with installation details. Order alternative backups simultaneously, particularly for trendy colors facing high demand.
Industry Standards and Quality Benchmarks
The ANSI standard defines testing for water absorption and breaking strength. Samples with ANSI certification meet minimum quality thresholds. PEI ratings indicate abrasion resistance from 1 (wall only) to 5 (heavy traffic). The Tile Letter explains rating systems.
COF measurements predict slip resistance; 0.60 or higher provides safe footing in wet areas. According to Wikipedia, manufacturing quality varies dramatically. Samples reveal quality through dimensional consistency and edge precision.
Professional Installer Perspectives
Experienced installers universally recommend sample testing before purchases. Contractors report that skipping samples creates project delays and budget overruns. Bringing samples to consultations demonstrates preparation and helps professionals assess installation difficulty before quoting.
According to installation standards, proper material assessment prevents most project failures. Sample quality predicts full shipment quality, so reject samples showing defects.
Conclusion
The $50-100 spent on comprehensive sample testing represents a fraction of total project costs while preventing mistakes that waste thousands. Every experienced homeowner wishes they had tested more samples before purchasing. This reflects lessons learned through projects requiring expensive corrections.
Samples transform abstract concepts into tangible reality, clarifying preferences through hands-on evaluation impossible through online research alone. Whether testing decorative 3D subway tiles for texture or evaluating standard formats, physical samples reveal what digital images cannot.
When ready to move forward, explore options by color, by size, by style, or browse the complete selection to see the full range of products carried. For personalized assistance, contact the team or visit local showroom locations. Smart sampling creates foundation for successful projects delivering results matching your vision within budget constraints.
Frequently Ask Questions
How many tile samples should I order before making a final purchase?
Order samples of your top three choices minimum. Request 2-3 samples of materials showing natural variation like stone to understand the range you'll see. Most projects benefit from testing 4-6 samples providing meaningful comparison without overwhelming decision-making.
Do tile samples accurately represent the full product I'll receive?
Samples generally represent manufactured ceramic and porcelain accurately. Natural stone and cement tiles show more variation, so request multiple samples. Always verify your final order matches the production lot number on approved samples to ensure consistency.
Can I use tile samples for actual installation or should they just be for testing?
Samples serve best for testing and decision-making rather than installation. Save samples permanently after completion for future repairs when you'll need exact matches. Keep them in labeled storage with installation details and supplier contacts.
What's the difference between ordering samples online versus visiting a showroom?
Showrooms let you see displays and consult staff. However, online samples let you test products in your actual environment where installations will occur. The ideal approach combines both: visit showrooms for research, then order online samples for in-home testing.
How do I know if I'm ordering enough tiles after sample testing confirms my choice?
Calculate square footage and add 10-15% overage for standard layouts. Complex patterns require 20-25% overage. Consult your installer for recommendations based on specific layout plans. Consider ordering an extra box for future repairs, as discontinued products become unavailable quickly.